


Introduction
Japanese knives have a long and colorful history. Dating back over 1,000 years, some of the first Japanese knives were made of stone and bone, before becoming more sophisticated with the introduction of metallurgy in the 12th century. Over time, these knives developed into a traditional style characterized by thin blades made from very hard steel that is sharpened to a very small bevel angle. While these knives are designed for everyday use in food preparation, they also feature incredibly detailed handles made from wood and other materials.
Replacing the handle of a Japanese knife is often considered when there is physical damage to the original handle because of age or wear, but it can also be done for style purposes – people who want a unique look for their kitchen or want to add details like exotic woods or special designs may go through this process. Additionally, those who prefer the feel and grip characteristics of another material (such as resin) may choose to replace their handle too. Replacing the handle can both improve performance while using your knife and make it easy to customize an heirloom-style piece you can keep forever.
Types of Knives
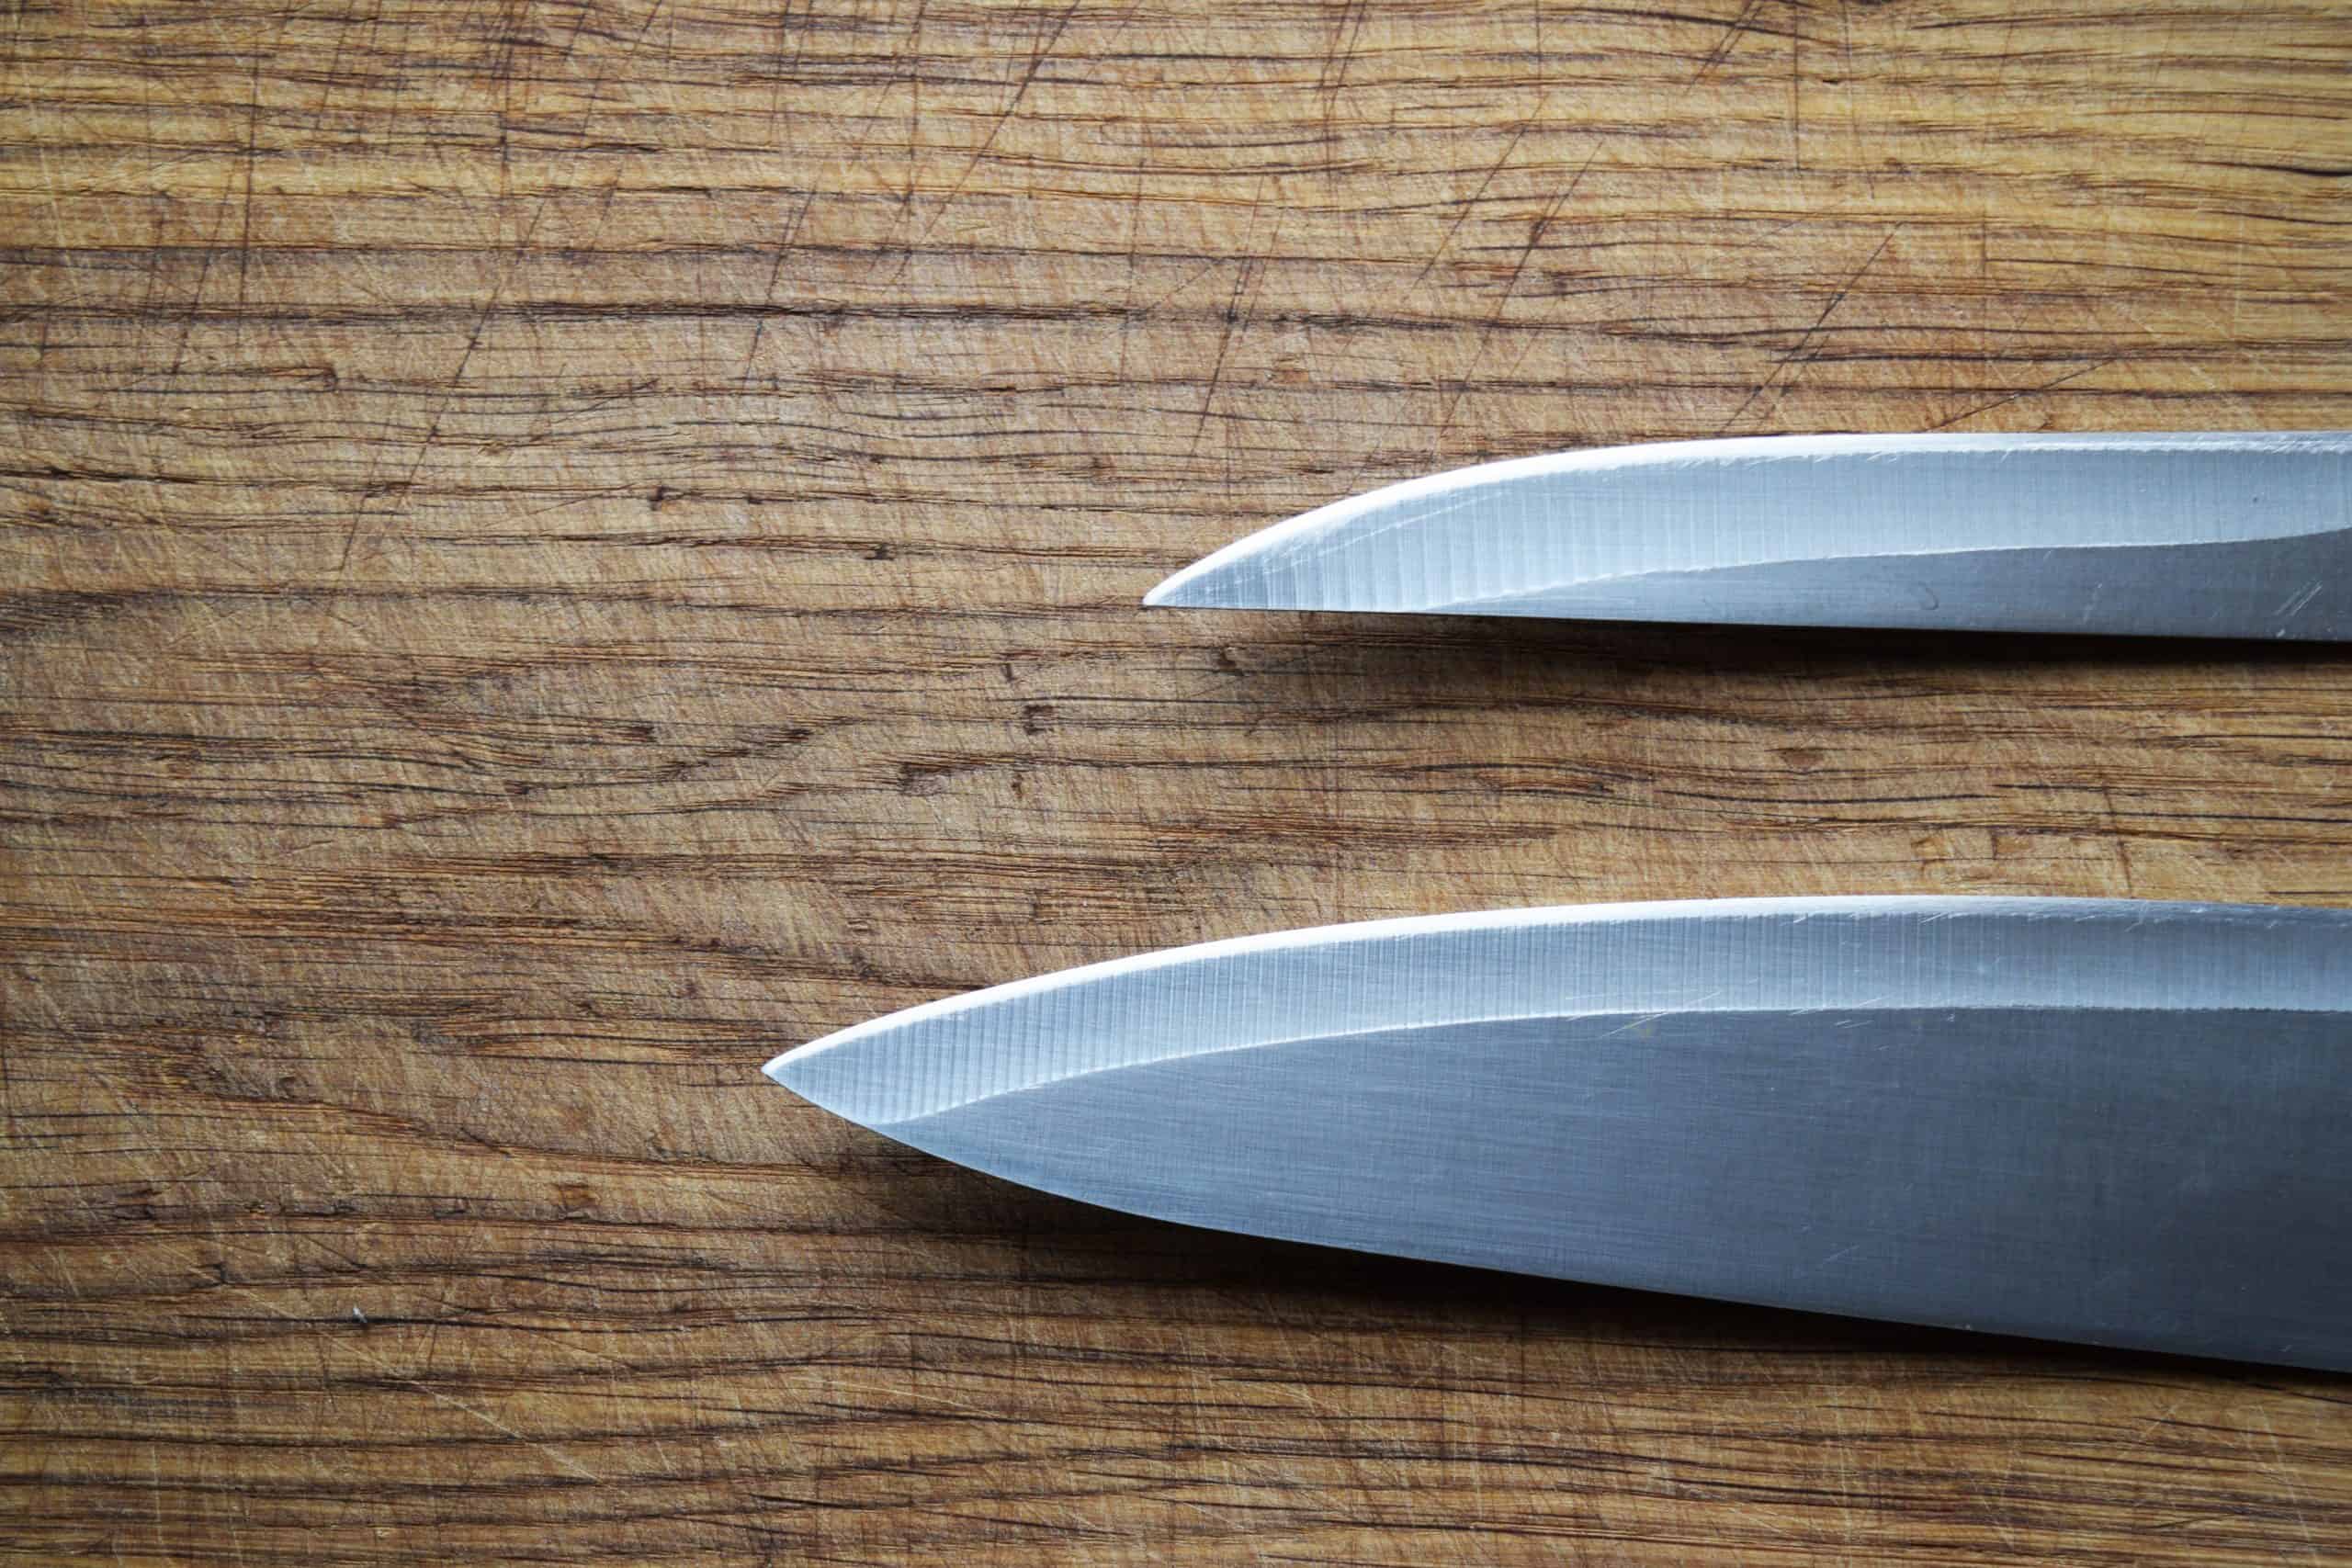
Gyutou: Gyutou knives are designed for chopping and multidirectional slicing. They have a flat blade profile that curves up the edge, making them suitable for cutting through hard ingredients such as fish bones and tender proteins. The handle of Gyutou is generally made of wood, particularly rosewood, which provides a comfortable grip on the knife. It typically ranges between seven to 11 inches in length.
Santoku: Santoku knives are similar to Gyutou knives but instead have a flatter profile with finer-cutting edges than Gyutou knives. As well as being able to deal with tougher materials due to its half size straightness, it also has less drag when making fine slices. However, because it does not curve up at an edge, this means the Santoku knife works best for slicing vegetables thinly and precisely for garnish without having to struggle too much. The handle of Santoku can be found in different materials from plastics to exotic woods in order to provide strong grip support even during tough tasks. In addition, it usually measures between five to eight inches in length.
Replacement Knives Handles: Replacing Japanese knife handles requires some skill as there are multiple styles and construction methods used depending on the specific brand or global region from where the product originates from. Additionally, every style will require different types of screws and nails depending on their function or design which must be taken into account when selecting new handles supplies or parts.
Removal of the Handle
Removal of the Handle:
1. Begin by gathering the necessary tools: a knife sharpening stone, a wet cloth, an adjustable wrench, and the appropriate replacement handles for your knife.
2. You will also need a pair of protective eyewear to ensure that any flying chips do not enter your eyes – safety is key!
3. Place the knife on its side on the damp cloth to provide additional grip support and secure it with one hand. If needed, you can use a few rubber bands or tape around the handle to help keep it in place while you work.
4. With your other hand, using an adjustable wrench, loosen the screws that attach the current handle to the blade at regular intervals until it comes off completely. Please note that in some cases you may need to warm up the screws before unwinding them as they can become very tight with age and sometimes require more effort than usual to remove.
5. Make sure all of these parts are laid out in an orderly manner so you remember how they were originally assembled when putting them back together with new components (e.g., washers).
6. Carefully remove any remaining residue from where old handle had been securely attached and clean both parts thoroughly with a damp cloth or soft brush before applying oil over them to protect against rusting.
7. With everything cleaned and prepared for assembly, begin reassembling according to instructions provided in package or manufacturer’s guide (again making sure screws & bolts remain at regular intervals). Be sure to firmly tighten screws/bolts until stops rotating or feels secure – if there is too much force applied then this could cause damage due either part itself or surrounding areas nearby as well!
8. Add your new handle piece – slotting in gently before fastening all pieces firmly into place again using an adjustable wrench just like before – before giving it a final checkup ensuring visibility of no gaps between blade body & handles surfaces which would indicate loose fitting parts!
Replacement Parts
Replacing the handle on a Japanese knife requires an understanding of the various parts that make up a handle, and how they all need to fit. To begin, you need to measure the blade of your Japanese knife in order to find the right size handle. Most handles are made to fit specific sizes, so measuring is vital before purchasing a replacement.
Next, you will need some basic knowledge about the different types of handles available for Japanese knives. Handles come in several shapes and materials such as wooden, metal, synthetic or resin handles. Each handle type has its pros and cons and should be chosen with care based on your individual preferences.
Once you have selected a new handle for your knife, there are several small components that must be installed for a successful replacement: pins (to hold blade onto handle), washers (for support between blade and handle), spacers (for additional grip support), screws and rivets (for attaching handle to blade). You will need to purchase these components separately if they are not already included with your new handle in order to ensure a proper fit. It is also important to understand how tight each fastener needs to be in order to prevent failure or damage during extended use.
Replacement Process
Step 1: Start by turning off the blade’s power source.
Step 2: Place the handle around the blade and attach it using screws or bolts. Use a pair of pliers to securely fit them in place.
Step 3: Use a lubricant like olive oil or petroleum jelly to properly lubricate the connection between the handle and the blade. This will help ensure that your handle remains in its proper place and prevents excessive friction from occurring due to high-speed movement.
Step 4: Check for any loose connections and reattach if necessary.
Step 5: Apply a light coating of machine oil or WD-40 over all the components including the screws, bolts, and connecting parts for added protection from wear.
Step 6: Reapply lubricant (olive oil or petroleum jelly) frequently as part of regular maintenance for your Japanese knife handle replacement process.
Step 7: Troubleshoot any issues by thoroughly inspecting each part before use. Check for broken pieces, corrosion, or other signs of malfunctioning components that could affect performance. If there are any defects replace them immediately with new ones so they can safely be used again to ensure optimum performance of your Japanese knife handle replacement experience.
Conclusion
Replacing the handle of a Japanese knife is not a difficult task but should be undertaken carefully and with the correct tools. Depending on the type of handle, some tools may require specific sizes to remove certain types. Materials required for this process include a clamp or vice, drill or rotary tool, appropriate size screwdriver(s), hex keys, and replacement handles. When ready to begin the process, it is important to securely hold the knife in a clamp or vice, ensuring that its blade is released if necessary before drilling out any old screws. After removing any existing hardware, use a drill or rotary tool to break up any adhesive that may have been used on the blade. Finally, attach the new handle using appropriate bolts, screws and other hardware. It’s also helpful to source material resources related to handle replacement such as manufacturers’ specifications before beginning this project.
For those who are not confident in their own skills when replacing a Japanese knife handle, there are service professionals who specialize in this area who can assist with this process at an additional cost. Many kitchen suppliers offer these services and those looking for assistance can find options online or by seeking out local professionals.