69bcf3589cc3d75fab1f4fbd9cd9f4f9


Sharpening knives is an important part of kitchen maintenance. A sharp knife is safer to use and will make your cooking tasks easier. A whetstone is a great tool for sharpening knives, but it can be intimidating to use if you’ve never done it before. This article will provide a step-by-step guide on how to use a whetstone to sharpen your knives. We’ll cover the basics of sharpening knives, the different types of whetstones, and the steps you need to take to get your knives sharp and ready to use.
How do you use a whetstone sharpening guide
Sharpening a knife with a whetstone is an age-old technique that has been used for centuries. It is a simple and effective way to keep your knives sharp and ready for use. A whetstone sharpening guide can help you get the most out of your whetstone and ensure that you are sharpening your knives correctly. Here is a step-by-step guide on how to use a whetstone sharpening guide.
Step 1: Select the Right Whetstone
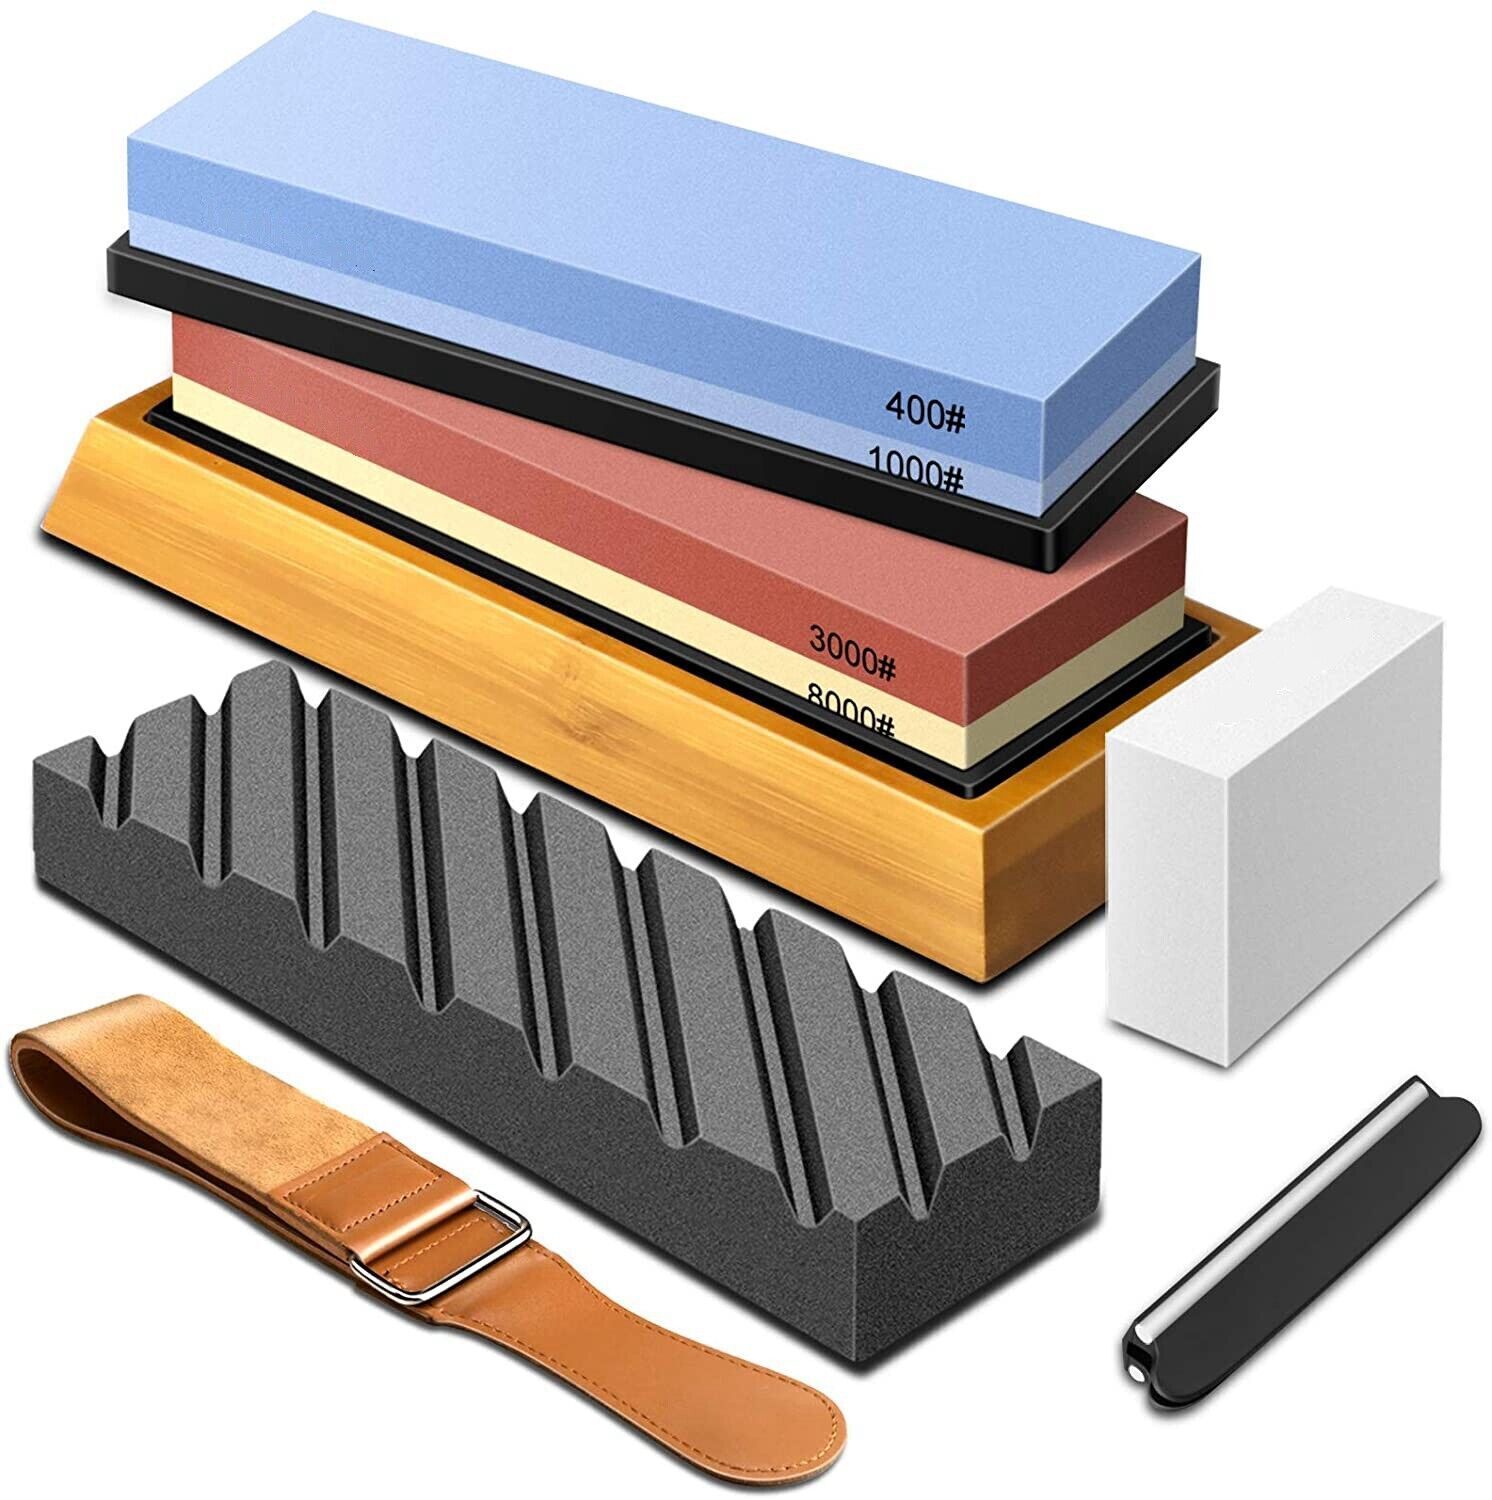
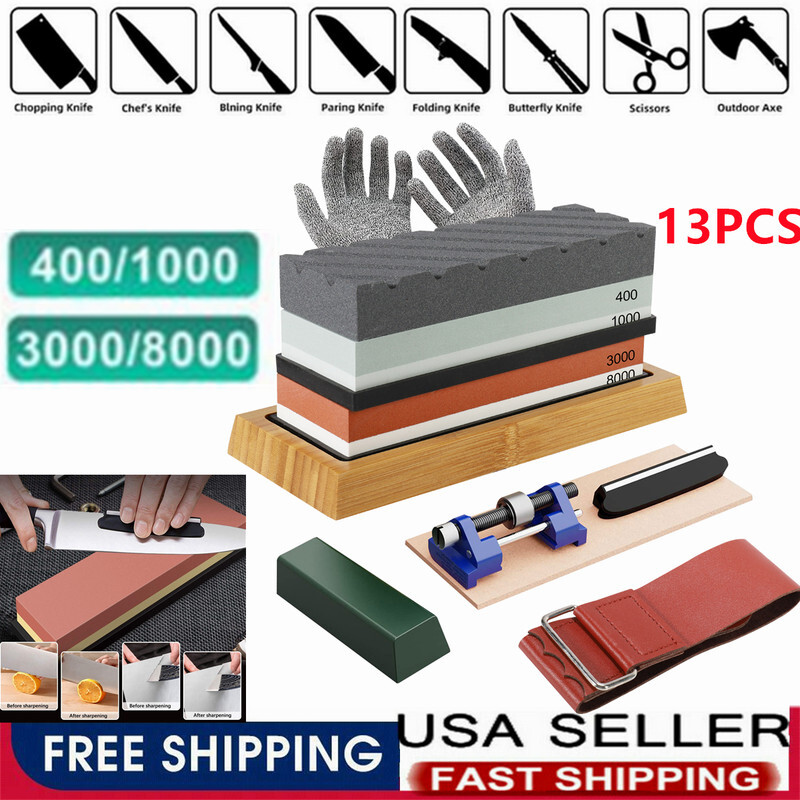
The first step in using a whetstone sharpening guide is to select the right whetstone for your knife. Different knives require different types of whetstones, so it is important to select the right one for your knife. Generally, a coarse-grit whetstone is used for dull knives, while a fine-grit whetstone is used for sharpening already sharp knives.
Step 2: Prepare the Whetstone
Once you have selected the right whetstone, you need to prepare it for use. This involves soaking the whetstone in water for at least 10 minutes. This will help to ensure that the whetstone is lubricated and ready for use.
Step 3: Position the Knife
The next step is to position the knife on the whetstone. You should place the blade of the knife on the whetstone at a 20-degree angle. This is the optimal angle for sharpening a knife and will ensure that the blade is sharpened correctly.
Step 4: Sharpen the Knife
Once the knife is positioned correctly, you can begin to sharpen the blade. You should use a back-and-forth motion to sharpen the blade, applying light pressure as you go. You should sharpen the blade until it is sharp and then move on to the next step.
Step 5: Test the Sharpness
Once you have finished sharpening the blade, you should test the sharpness of the blade. You can do this by running your finger along the blade. If the blade is sharp, it should feel smooth and not catch on your finger. If the blade is not sharp, you should repeat the sharpening process until it is sharp.
Step 6: Clean and Store the Knife
Once you have finished sharpening the blade, you should clean the blade and store it properly. You should use a damp cloth to wipe off any excess oil or debris from the blade. You should also store the knife in a safe place, away from moisture and heat.
Using a whetstone sharpening guide is a great way to ensure that you are sharpening your knives correctly. By following these steps, you can ensure that your knives are sharp and ready for use.
How do you sharpen a knife with a guide
Sharpening a knife is an important part of knife maintenance. It is important to keep your knives sharp to ensure they are safe and effective to use. A guide is a great tool to help you sharpen your knives quickly and easily. Here is a step-by-step guide on how to sharpen a knife with a guide.
Step 1: Gather the Necessary Tools
Before you begin sharpening your knife, you will need to gather the necessary tools. You will need a sharpening guide, a sharpening stone, and a honing steel. You may also want to have a cloth or towel handy to wipe off the blade after sharpening.
Step 2: Secure the Knife in the Guide
Once you have all the necessary tools, you will need to secure the knife in the guide. Place the blade of the knife in the guide and make sure it is secure. The guide should be adjusted so that the blade is at the correct angle for sharpening.
Step 3: Sharpen the Knife
Once the knife is secure in the guide, you can begin sharpening the knife. Start by running the blade along the sharpening stone. Make sure to keep the blade at the same angle as the guide. Move the blade back and forth along the stone until it is sharp.
Step 4: Hone the Knife
Once the blade is sharp, you will need to hone it. To do this, run the blade along the honing steel. This will help to remove any burrs or imperfections on the blade. Make sure to keep the blade at the same angle as the guide.
Step 5: Clean the Knife
Once you have finished sharpening and honing the knife, you will need to clean it. Use a cloth or towel to wipe off any excess oil or debris from the blade. This will help to keep the blade clean and prevent it from rusting.
Conclusion
Sharpening a knife with a guide is a quick and easy way to keep your knives sharp. By following these steps, you can ensure that your knives are sharp and safe to use.
With a little practice, you can become an expert at sharpening knives with a guide.
Should I use angle guide whetstone
Sharpening knives is an important part of kitchen maintenance. It is important to use the right tools to ensure that your knives are sharpened correctly and safely. An angle guide whetstone is a great tool for sharpening knives and can help you achieve a professional-looking edge.
What is an angle guide whetstone? An angle guide whetstone is a sharpening stone that has an angle guide attached to it. This guide helps you maintain a consistent angle while sharpening your knife. This ensures that your knife is sharpened evenly and that the edge is uniform.
What are the benefits of using an angle guide whetstone? Using an angle guide whetstone can help you achieve a professional-looking edge on your knives. It also helps you maintain a consistent angle while sharpening, which ensures that your knife is sharpened evenly. Additionally, it can help you sharpen your knives more quickly and efficiently.
Are there any drawbacks to using an angle guide whetstone? The main drawback to using an angle guide whetstone is that it can be difficult to use. It takes some practice to get used to the angle guide and to sharpen your knives correctly. Additionally, it can be difficult to find a good quality angle guide whetstone.
Should I use an angle guide whetstone? If you are looking for a professional-looking edge on your knives, then an angle guide whetstone is a great tool to use. It can help you sharpen your knives quickly and efficiently, and it can help you maintain a consistent angle while sharpening. However, it can be difficult to use and it can be difficult to find a good quality angle guide whetstone.
How to sharpen a knife with a stone for beginners step by step
Sharpening a knife with a stone is a skill that can be learned with practice. It is important to understand the basics of sharpening a knife before attempting to do so. This article will provide a step-by-step guide for beginners on how to sharpen a knife with a stone.
Step 1: Gather the Necessary Materials
The first step in sharpening a knife with a stone is to gather the necessary materials. You will need a sharpening stone, a honing oil, a cloth, and a knife. The sharpening stone should be a medium-grit stone, such as a 1000-grit stone. The honing oil will help to lubricate the stone and prevent it from becoming clogged with metal particles. The cloth will be used to wipe away any excess oil or metal particles.
Step 2: Prepare the Stone
Once you have gathered the necessary materials, you will need to prepare the stone. Start by soaking the stone in water for 10-15 minutes. This will help to soften the stone and make it easier to use. Once the stone has been soaked, use the cloth to wipe away any excess water.
Step 3: Apply the Honing Oil
Once the stone has been prepared, you will need to apply the honing oil. Use the cloth to spread a thin layer of oil over the entire surface of the stone. This will help to lubricate the stone and prevent it from becoming clogged with metal particles.
Step 4: Begin Sharpening
Now that the stone is prepared, you can begin sharpening the knife. Start by placing the knife on the stone at a 20-degree angle. Then, using a back-and-forth motion, move the knife across the stone. Make sure to keep the angle consistent throughout the sharpening process. After a few passes, you should begin to see a burr forming on the edge of the blade.
Step 5: Flip the Knife and Repeat
Once you have finished sharpening one side of the blade, you will need to flip the knife over and repeat the process on the other side. Make sure to keep the angle consistent and use the same back-and-forth motion. After a few passes, you should begin to see a burr forming on the edge of the blade.
Step 6: Remove the Burr
Once you have finished sharpening both sides of the blade, you will need to remove the burr. To do this, use a finer-grit stone, such as a 3000-grit stone. Start by placing the knife on the stone at a 10-degree angle. Then, using a back-and-forth motion, move the knife across the stone. Make sure to keep the angle consistent throughout the sharpening process. After a few passes, the burr should be removed.
Step 7: Clean and Store the Knife
Once you have finished sharpening the knife, you will need to clean and store it. Use the cloth to wipe away any excess oil or metal particles. Then, store the knife in a safe place, such as a knife block or a drawer.
Conclusion
Sharpening a knife with a stone is a skill that can be learned with practice. By following the steps outlined in this article, you can learn how to sharpen a knife with a stone for beginners. With practice, you will be able to sharpen your knives with ease.
Thank you for reading this guide on how to use a whetstone to sharpen knives. We hope that you now have a better understanding of the process and can use it to keep your knives sharp and in good condition. Goodbye and happy sharpening!