


Introduction
Sharpening a pocket knife with a rock is an important survival skill that every outdoors person should understand. Whether camping in the wilderness, hunting, angling or on any other outdoor adventure, having a sharp pocket knife can mean the difference between success and failure. A pocket knife with a dull blade limits you in crafting, preparing food and even building shelter. Luckily, it is easy to sharpen a pocket knife using only the resources of nature at your disposal.
Step 1 – Locating the Rock – In order to sharpen your pocket knife with a rock, you must first locate an appropriate stone. You want something big enough to easily hold in your hand and have as few cracks as possible to prevent from cutting yourself or damaging your tool. Smooth stones tend to work best for this purpose as they will not be overly abrasive on your blade. Once you have identified an optimal rock to use for sharpening, take note of the flatest side it has naturally occurring on its surface – this part must face up while sharpening.
Step 2 – Applying Pressure – Now that you have identified an ideal rock to sharpen your pocket knife with, consider how much pressure you will need to apply while doing so. Before laying into the edge of your blade aggressively, consider running it lightly along the top of the rock first as that should remove and debris or build up that may be stuck along it fold edges– like burrs or dirt and dust particles caught between creases during daily carry routines. Once complete, angle your pocketknife against the surface of the rocks such that one side runs parallel around 10-15 degrees so that when pushed against it the blade keeps contact consistently through each stroke (the thinner your edge is initially, be more delicate).
Step 3 – Honing & Moving On– To get an optimal result from honing one’s blade via using a natural resource like a rock outside strictly requires practice and patience as one must make sure their angles remain consistent throughout multiple circular motions counterclockwise whilst maintaining steady pressure on both sides equally throughout each pass.. As long as these practices are followed religiously however – resulting in removing enough excess material for the perfect edge – this “rock-sharpened” method can further hone already keen blades making them more efficient than ever before!
Preparation
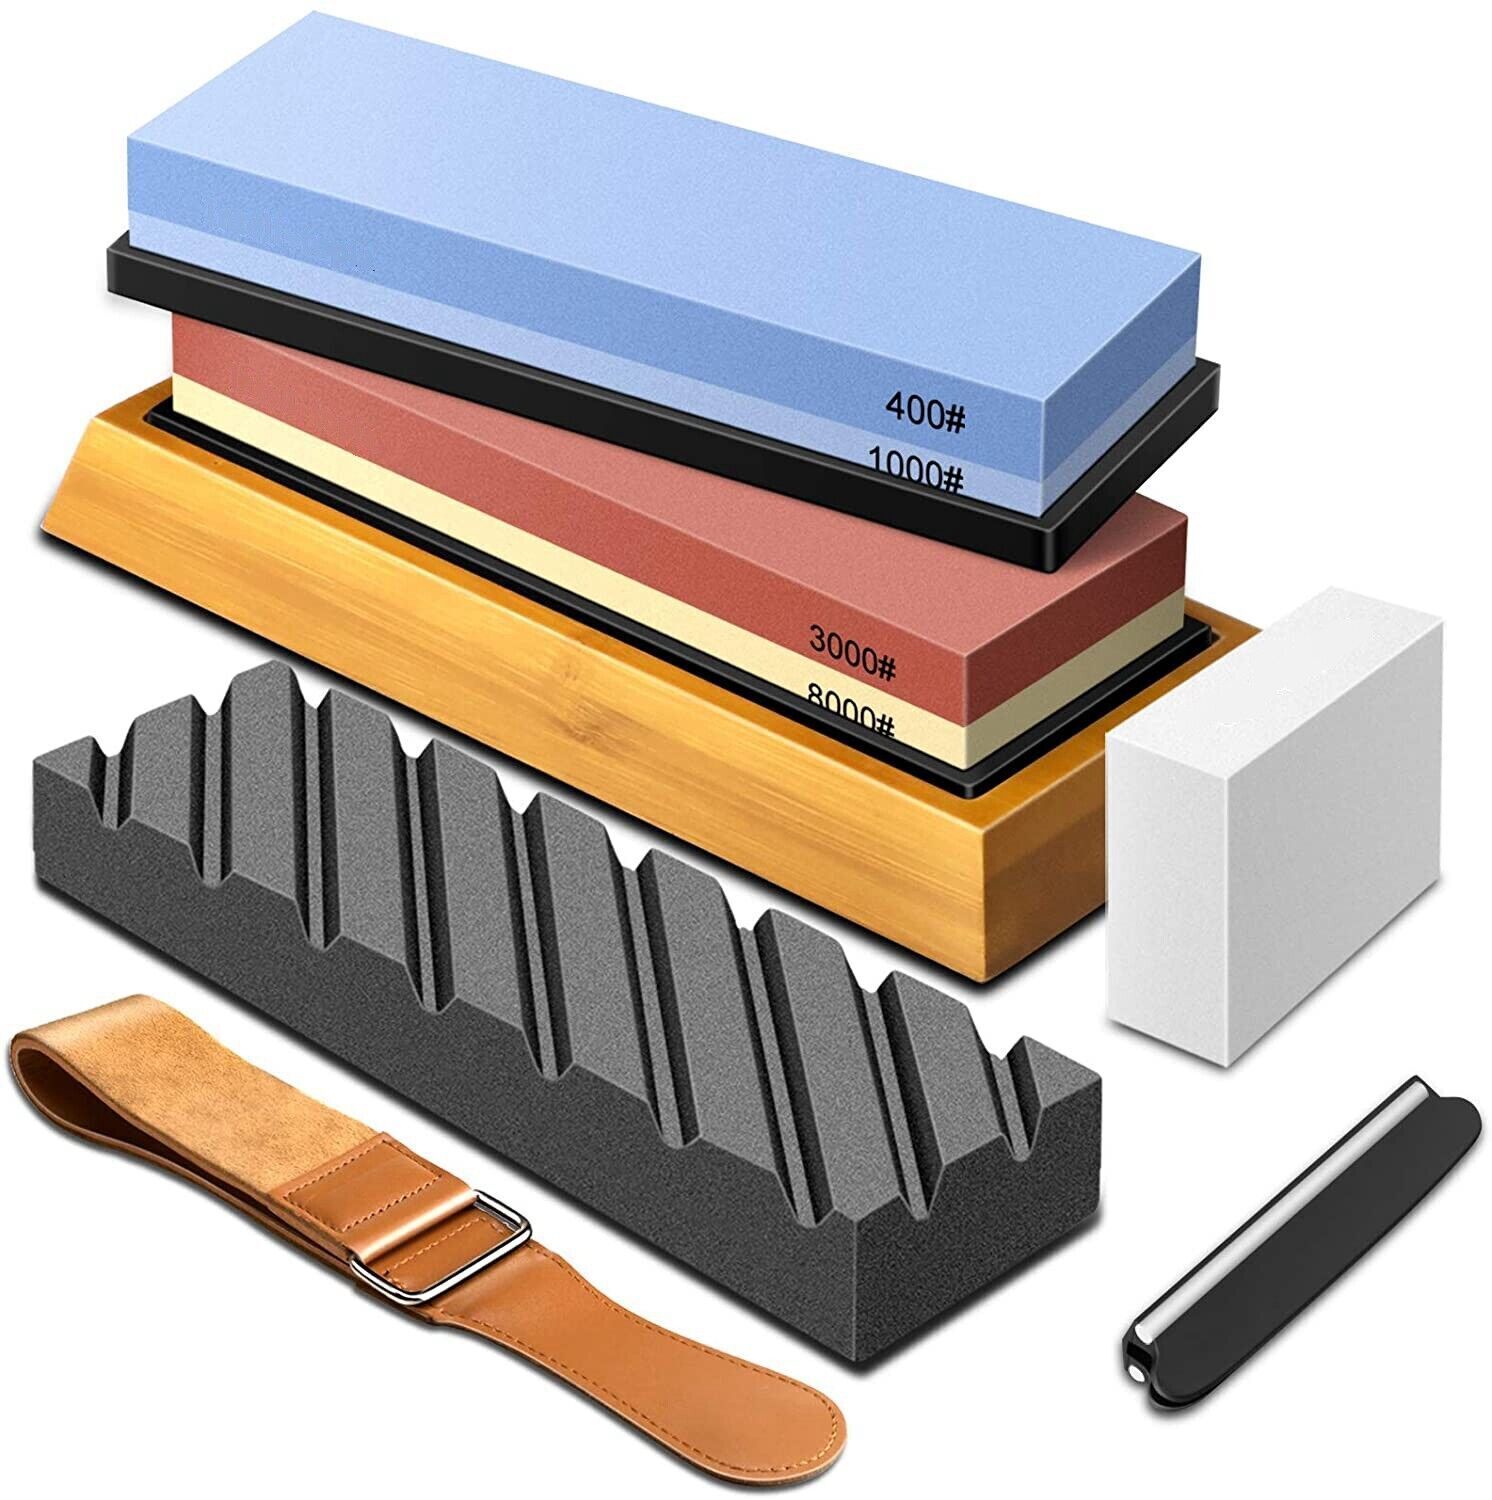
Materials needed:
– Pocket knife
– Rock with a rough surface (often found in rivers or along coastlines)
– Water source
Instructions:
1. Find a suitable rock to use for sharpening. Look for one with a rough surface that is similar in shape and size to that of the pocket knife blade. It should be large enough to fit comfortably in your hand and make sure it does not have any sharp edges that could cause injury.
2. Hold the rock firmly in one hand and hold the pocket knife’s blade securely in the other hand by placing your thumb on top of the edge to keep it steady while you sharpen it.
3. Place the side of the blade slightly angled against the flat part of the stone and, using light pressure, begin to move it back and forth on short strokes, away from yourself. Make sure you are regularly rinsing the stone off in water throughout this process as this helps to keep it clean and reduce friction between it and the blade. Keep this up until you start to see a burr appear on either side of the blade’s edge which will indicate its sharpness.
4. Once you’ve achieved your desired amount of sharpness, flip over both sides of your pocket knife’s blade on an angle against the stone at about 30 degrees then carry out step 3 again for 10-15 times per side using even strokes before cleaning off any burrs with a smooth piece of leather cloth or even a small piece of newspaper for that extra good finish!
Safety Concerns
Sharpening a pocket knife with a rock is an excellent way to provide the blade with a sharp edge. However, it does need to be done safely. If the rock slips off, you can cut yourself easily. Before beginning, make sure that the blade is clear of any dirt or debris, and wear protective gloves and eye wear just in case.
To sharpen the pocket knife with a rock, find an uneven surface such as a rock slab or building block. Angle the blade against the rock at anywhere between 15-20 degrees; this will depend on the type of pocket knife and user preference. Push down in one stroke from handle to tip and then turn over to do one stroke from tip back up towards handle; repeat this motion in quick succession until you’re satisfied with the level of sharpness. It is often ideal for each side of the edge to receive equal attention when sharpening and should be evenly ground along its length for safety reasons. Once finished, smooth off any rough edges with some fine paper before returning the blade to your pocket knife holder for safe storage.
Safety is always key when dealing with knives so never sharpen any kind of blade while it’s being held in your hand. Additionally, ensure you click any locking mechanism into place before placing your pocket knife away as it can easily slip open and cause injury if stored improperly. For more detailed information on safety precautions when handling knives please refer to
Step-by-Step Guide
Instructions for Sharpening a Pocket Knife with a Rock:
1. Gather the supplies you need – pocket knife, sharpening rock (aka a whetstone), water, and a clean cloth.
2. If your whetstone is double-sided, start with the coarse side – this will help to take off larger chunks of material than the fine side can.
3. Locate an area on the whetstone that is stable and flat enough to sharpen your blade on safely. If there are any bumps or gaps in this area, it can lead to crooked edges on the knife blade when sharpened, so make sure that you’ve chosen a relatively flat and even surface for this task.
4. Submerge or wet down your sharpening stone until its completely wet – you want all corners of your stone evenly saturated so BOTH sides become flattened once submerged in liquid form.
5 . Place your pocket knife onto the stable part of the whetstone at about 20-degree angle relative to the stone’s surface. Make sure that all four edges of the blade rest firmly against abrasive material from both sides of where you’re sharpening it from – don’t skip any part!
Diagram: knife________________whetstone
6 . Move the knife along one side of the whetstone until it has gone all the way over; Make sure to maintain constant pressure throughout this movement and also ensure that you not miss out on any edges during stroking process as described earlier under step 5; repeat this procedure again but focusing this time around other corner edge opposite the one previously worked upon (i.e., making sure that these two remain equally worked upon).
7 . After completing passes across each side, check whether there’s still some burrs left behind– if yes then move onto lower grit grade by flipping stone over then apply 2 strokes before flipping it back again & repeating same process until no more burs are discernible anymore.
8 . Wipe away residue with clean cloth/damp towel before putting away for another day use!
Important Tips
1. Gather your materials: a pocket knife and a large, relatively flat rock.
2. Hold the edge of your pocketknife against the rock at about a 30-degree angle and apply gentle pressure as you drag the blade across it in one direction (away from you). Try not to move the blade up or down as you sharpen. It’s usually best to start out with slow, even strokes and gradually increase speed and pressure as needed.
3. Repeat this process several times on both sides of the blade until it reaches your desired sharpness. You may want to test its progress periodically by gently running your thumb along the edge of the blade—it should feel noticeably sharper after each stroke.
4. Rinse off any dirt or debris that may have collected on the knife during sharpening, then dry it off with a clean cloth before putting it away for storage.
5. Periodically inspect your pocketknife for any nicks that could injure you when using the knife — these can often be removed by carefully filing them with a small piece of sandpaper before starting the sharpening process again with the rock if necessary.
Finishing Touches
Steps to Sharpen a Pocket Knife with a Rock:
1. Select the Right Rock – Start by selecting the right rock for sharpening your pocket knife. The best type of rock is a flat, hard stone that can easily abrade metal like quartzite or flint.
2. Identify the Bevel – Look closely at the edge of your pocket knife and identify the bevel. This is the angle of the blade where it meets the edge.
3. Begin Sharpening – Place your pocket knife on a steady surface and begin sharpening by pressing down lightly on your chosen rock with the knife’s cutting edge facing up, using long strokes supported with an even pressure. Work in-line with blades original bevel while passing a few strokes over each section of the blade multiple times from each direction ending at tip of the blade.
4. Flip It Over – Once you have finished sharpening one side of your pocket knife, flip it over and repeat steps 3 and 4 for opposite side as well as honing any additional sections near handle if needed.
5. Test Your Edge – Once done, test your knife’s edge against paper or fabric to check how sharp it is now; use caution when doing so not to cut yourself!
Additional Tips:
• Sharpening serrated pocket knives requires different steps than those necessary for shaping traditional blades; angle each serration using small sweeps on both sides of serration before repeating said steps across all serrations on blade evenly until desired sharpness is achieved
• If after completing these steps you find that your pocket knife’s edge isn’t yet quite as sharp as you would like it to be, simply continue repetitively passing over respective areas on both sides of blade until desired outcome is reached; remember always to apply even pressure during this process
• If after testing, you have successfully sharpened your pocket knife but are uncertain if it has been sharpened enough, drag blade gently across skin (again being sure not to cut yourself!) and note sensation upon contact; lackadaisical contact may signify more work required whereas more uncomfortable spreading sensation may mean blade has been successful razor-sharpened
Conclusion
Sharpening a pocket knife with a rock can be done in a few easy steps. First, it’s important to make sure you find an appropriate rock that is flat and won’t break or chip when you use it. It’s also important to wear safety glasses to protect your eyes from debris released during the sharpening process. Then, you’ll want to choose an angle of around 20 degrees and hold the knife at that angle against the rock for about 10 times on each side of the blade. Afterwards, use some medium-grit sandpaper or a piece of leather to smooth out any burrs left behind. Finally, test the sharpness by slicing through something like paper or cardboard to make sure it is properly sharpened before using the knife. With these steps, you should now know how to sharpen a pocket knife with a rock and can confidently use your knife without worry.