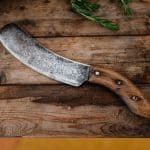


Introduction
Sharpening your knife with leather can help it maintain its sharpness for longer and improve its overall performance. Using a leather strop or honing strap to sharpen a knife ensures that the blade’s cutting edge remains straight, without any bending or curving. Additionally, regular stropping will prevent unnecessary wear on the blade, ensuring your knife lasts longer.
Instructions:
1. Begin by securing your leather strop onto a stable surface so it won’t move while you’re sharpening. This can be done by clamping it or attaching it with adhesive tape.
2. Apply pressure to the front of your blade using your thumb as you make several light passes on the leather in downward strokes outward from the handle. For best results, you should use some type of lubricant such as oil or water to help reduce friction caused during stropping.
3. After a few passes, switch directions and move your hand in an opposite direction away from the handle and towards the tip of the blade. Make sure to keep good grip on both sides of edge for better control and more even sharpening process.
4. Rotate the knife every few strokes in order to ensure all parts of the blade are evenly sharpened on either side of the edge while continuing to pass over leather in short smooth strokes until desired level of sharpness is achieved. Additional lubrication may be needed at times depending on how dull blade is prior to sharpening session
5. Finally, properly clean and store your knife after finishing up so that it will stay well-maintained throughout use over time!
Gather Materials
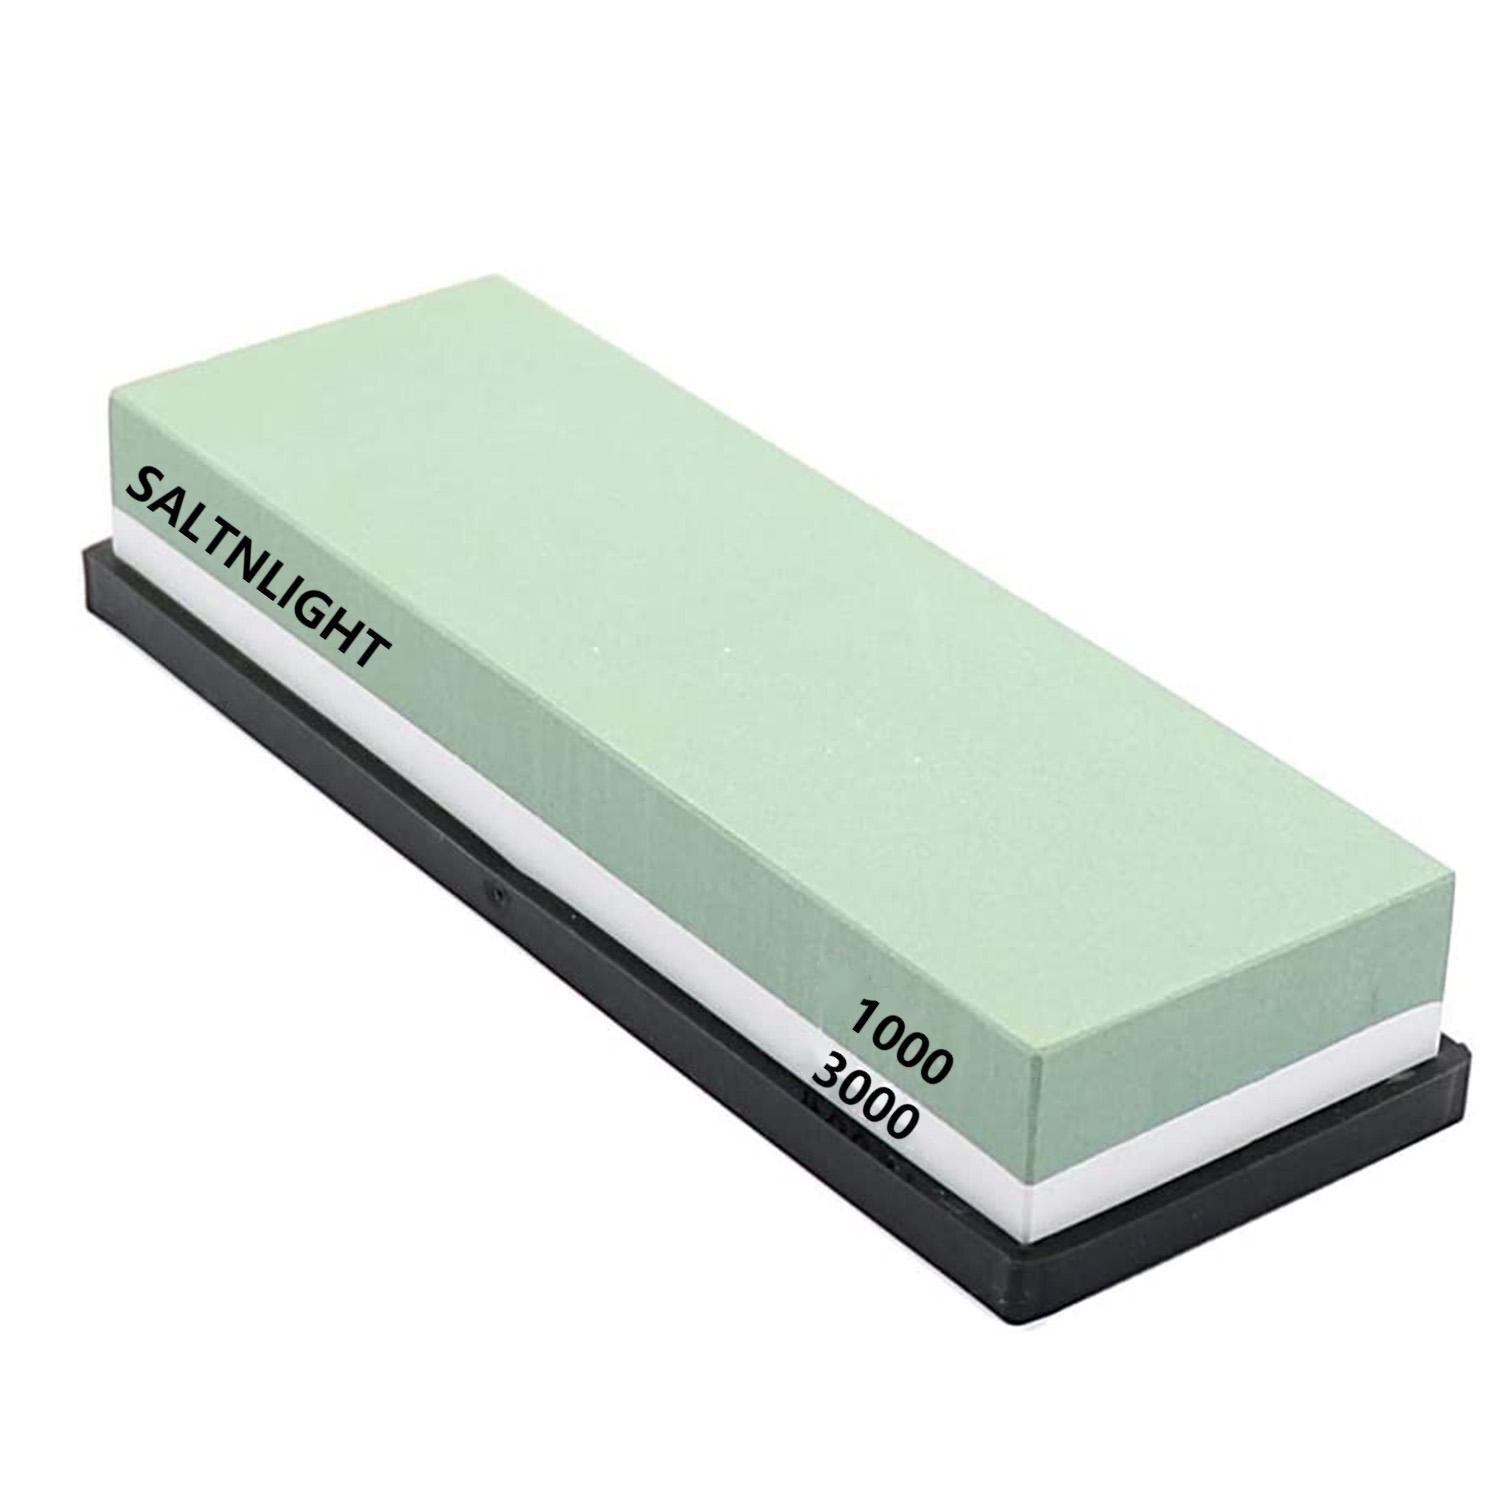
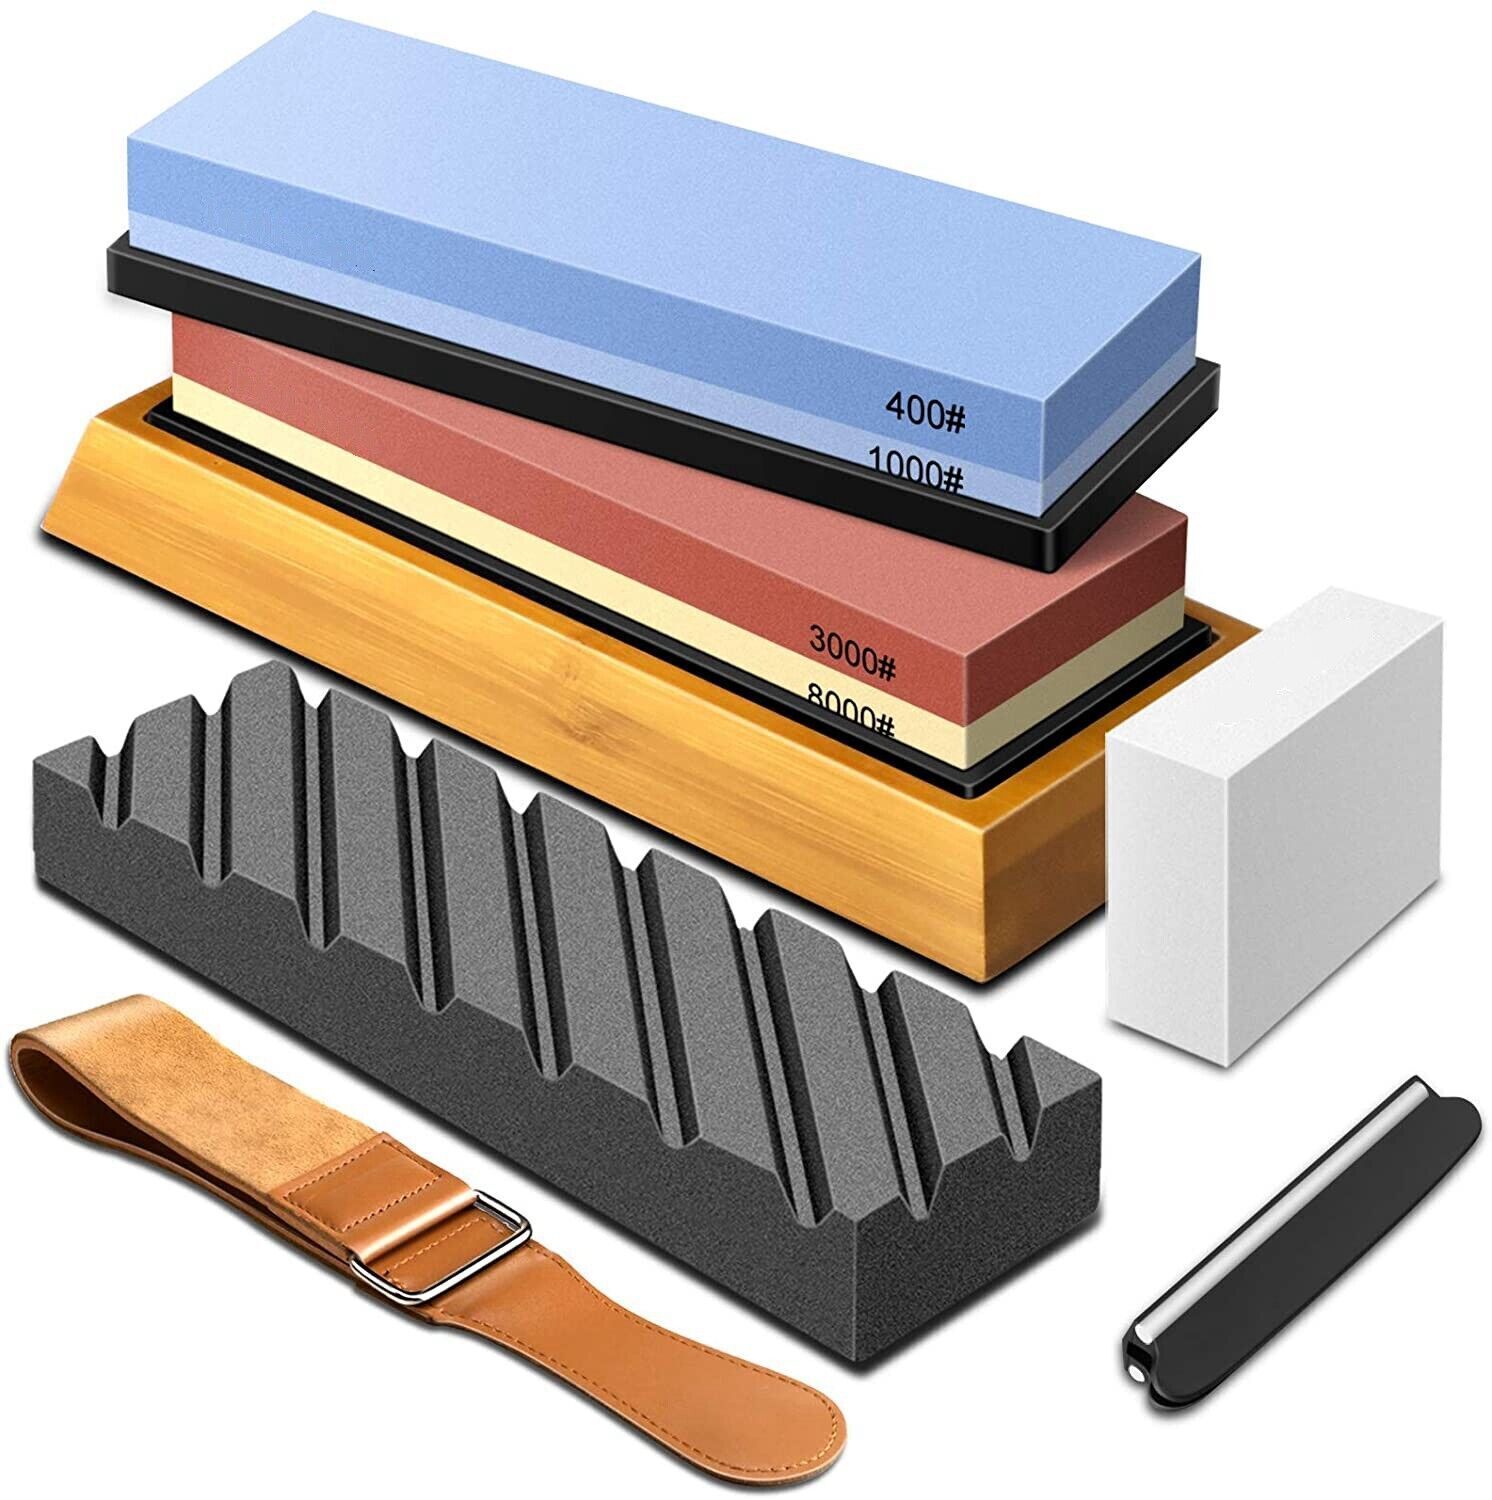
To sharpen a knife with leather you will need the following materials: a pair of leather gloves, sharpening stone, coarse grain diamond stone (for especially dull knives), water or honing oil, and some leather. The leather can be in the form of thick pieces of cowhide, deer hide, horse hide, or saddle leather.
Prepare: Clean the Knife & Stone
Once you have all of your materials gathered it’s time to prepare to sharpen your knife. First, clean your knife and sharpening stone to remove any dirt or debris that could impede your progress. You can use a cloth or a brush to get rid of any unwanted elements on either the knife or stone. After that’s done you can optionally apply some honing oil or water to both the stone and knife before continuing.
Sharpening: Rubbing & Stroking
Now it’s time to begin sharpening the knife with the leather. Start by putting on your gloves for safety reasons since blades are very sharp. Make sure that the leather has plenty of room for movement and is securely attached so you don’t accidentally lose it during sharpening. Place the blade between two pieces of leather and rub it back and forth in a stroking motion at least 20 times after each side is finished move up one grit size from coarse grain to medium if necessary ( best used for particularly dull knives). Wipe away excess honing oil after each pass before moving up a grit size and work until you reach the desired level of sharpness.
How to Sharpen a Knife
Step 1: Before you begin, make sure your knife is clean by wiping off any debris or bacteria on the blade with a dry cloth. This will ensure that you have a clean base before sharpening.
Step 2: Now that your knife is prepped and ready for sharpening, it’s time to choose the type of sharpener you’ll use. Select either a leather strap or strop and set it out on a flat surface. For this step-by-step guide we’ll be using a leather strap.
Step 3: Using your fingers, grip the handle of the knife firmly and place the edge of the blade against the leather squarely. Put enough pressure on it for a secure grip without bending or folding it.
Step 4: Begin sharpening your knife against the leather by clearly drawing full length strokes towards yourself in one direction only (usually away from you). Make sure each stroke is at an even angle – straight across or slightly downwards if necessary – to properly sharpen all parts of the blade equally.
Step 5: For best results, start with 10 strokes based upon the particular size and width of your blade. After this initial setting, increase pressure steadily until you reach 20 – 30 strokes per side, again depending upon size and width of blade. For metal blades, be aware they can get hot so work in short spurts, alternating between both sides every few passes in order to dissipate heat evenly across both sides..
Step 6: Once completed you should now have a razor sharp edge thanks to using the honing action from drawing back over against the leather surface! Make sure to check how sharp it is by conducting a simple cutting test such as slicing paper or lightly passing over material like garlic skin or tomato peel.
Before You Start
Before sharpening your knife with leather, make sure to wear safety glasses and gloves for protection. Make sure to work in a well-ventilated area and be aware of any children or pets that may be around. When handling a knife always remember to point the blade away from yourself and other people.
Instructions
To sharpen your knife with leather, you will need a piece of leather, some water and some lubricant (oil or wax). Start by moistening the leather using the water, making sure it is wet but not dripping. Next add a light layer of lubricant onto the wet surface of the leather. Take your knife and angle it at approximately 20-degrees against the piece of leather. Start running the blade across the leather while apply light pressure – going in one direction only (it doesn’t matter which one as long as you stick to it). You may need to repeat this process several times until it is sharp enough to suit your needs. Finally, wipe down your knife with a damp cloth before another use.
Setting the Bevel
Before you sharpen your knife with leather, it is important to set the bevel. This will ensure that you achieve maximum sharpness. To do this, use a wet-stone or other medium grit to grind down the blade at the chosen angle. Make sure to evenly keep pressure on both sides of the blade while grinding and bring it back to its original shape. When finished, run your sharpening stone up and down each side of the blade until both surfaces are parallel.
Next, move up in grade; use a fine-grit wet stone or even hone your knife on a piece of leather for optimal performance. Run your blade along the surface of the leather in an arcing motion, applying pressure evenly on both sides and running from the heel all the way to its tip. Continue this process until the blade is sharp enough for your needs and has a mirror finish across its entire surface. Finally, finish off with honing oil or mineral oil for added protection against corrosion and increased longevity for your knife’s edge.
Finding the Right Angle
When it comes to sharpening a knife with leather, one of the most important things to keep in mind is finding the right angle. Depending on what kind of knife you are trying to sharpen, this angle can vary from 15 to 30 degrees. To ensure best results, use an angle guide or sharpening stone to measure and maintain the proper angle before beginning. When sharpening a non-serrated blade, be sure to move in a uniform direction down the length of the blade, as if you were shaving the surface of a piece of wood. For serrated blades, apply even pressure while moving side-to-side horizontally across each blade’s tooth. Regardless of which type of knife you are sharpening, it is important not to rush the process and take your time for consistent results.
Stroke Technique
When it comes to sharpening a knife with leather, the stroke technique is key. To master this technique, first determine the correct stroke pattern for your knife. For most straight-blade knives, move the blade in an arching motion away from the blade’s spine and apply pressure as you go. Generally, you should start at one end of the edge and slowly pull or pull/push in alternating directions as you work your way across to the other side. When using a curved blade or serrated knives (like bread knives or steak knives), use a back-and-forth sawing motion. Make sure that you apply equal pressure on both sides of the blade regardless of stroke pattern. Once you have determined the appropriate pattern for your specific knife and become more familiar with how it works, repeat it several times over to ensure that your knife is evenly sharpened before testing it out with an object like paper or wood to assess its performance.
Final Flourishes
Once your knife is sharpened, there are a few final touches you can take to give it a jazzy look. If you have opted to use leather for the honing process then you can also use this same leather for polishing. Begin by rubbing the knife blade with some extra-fine steel wool. This will remove any dirt and residue from the previous sharpening procedure. Once that is done, lay the leather scrap on a flat surface and use gentle strokes to work the blade on top of it. Rub with slow, easy movements from one side of the blade to another. Reverse directions and repeat until the metal takes on a glossy shine, then buff away any excess metal bits with a dry cloth. You now have a gleaming, razor-sharp knife at your fingertips – perfect for slicing and dicing with ease!
Summary
Sharpening a knife with leather is an easy and effective way of maintaining your cutlery and making sure it stays in good condition. To get started, you will need a piece of leather that is slightly larger than your blade. Place the blade flat against the leather, with the cutting edge facing down, and tilt the handle of the knife forward towards you. Begin honing using very light strokes along the full length of the edge while supporting the back side of the blade at all times. Continue this motion until a burr, or small projection of metal on both sides of the blade, appears. Once this appears, switch to a circular motion to ensure an even grind across all surfaces. Lastly, carefully run your finger along both sides to ensure no sharp edges remain before storing away for use again. With regular maintenance like this, you can be sure to get pristine performance from your blades every time!