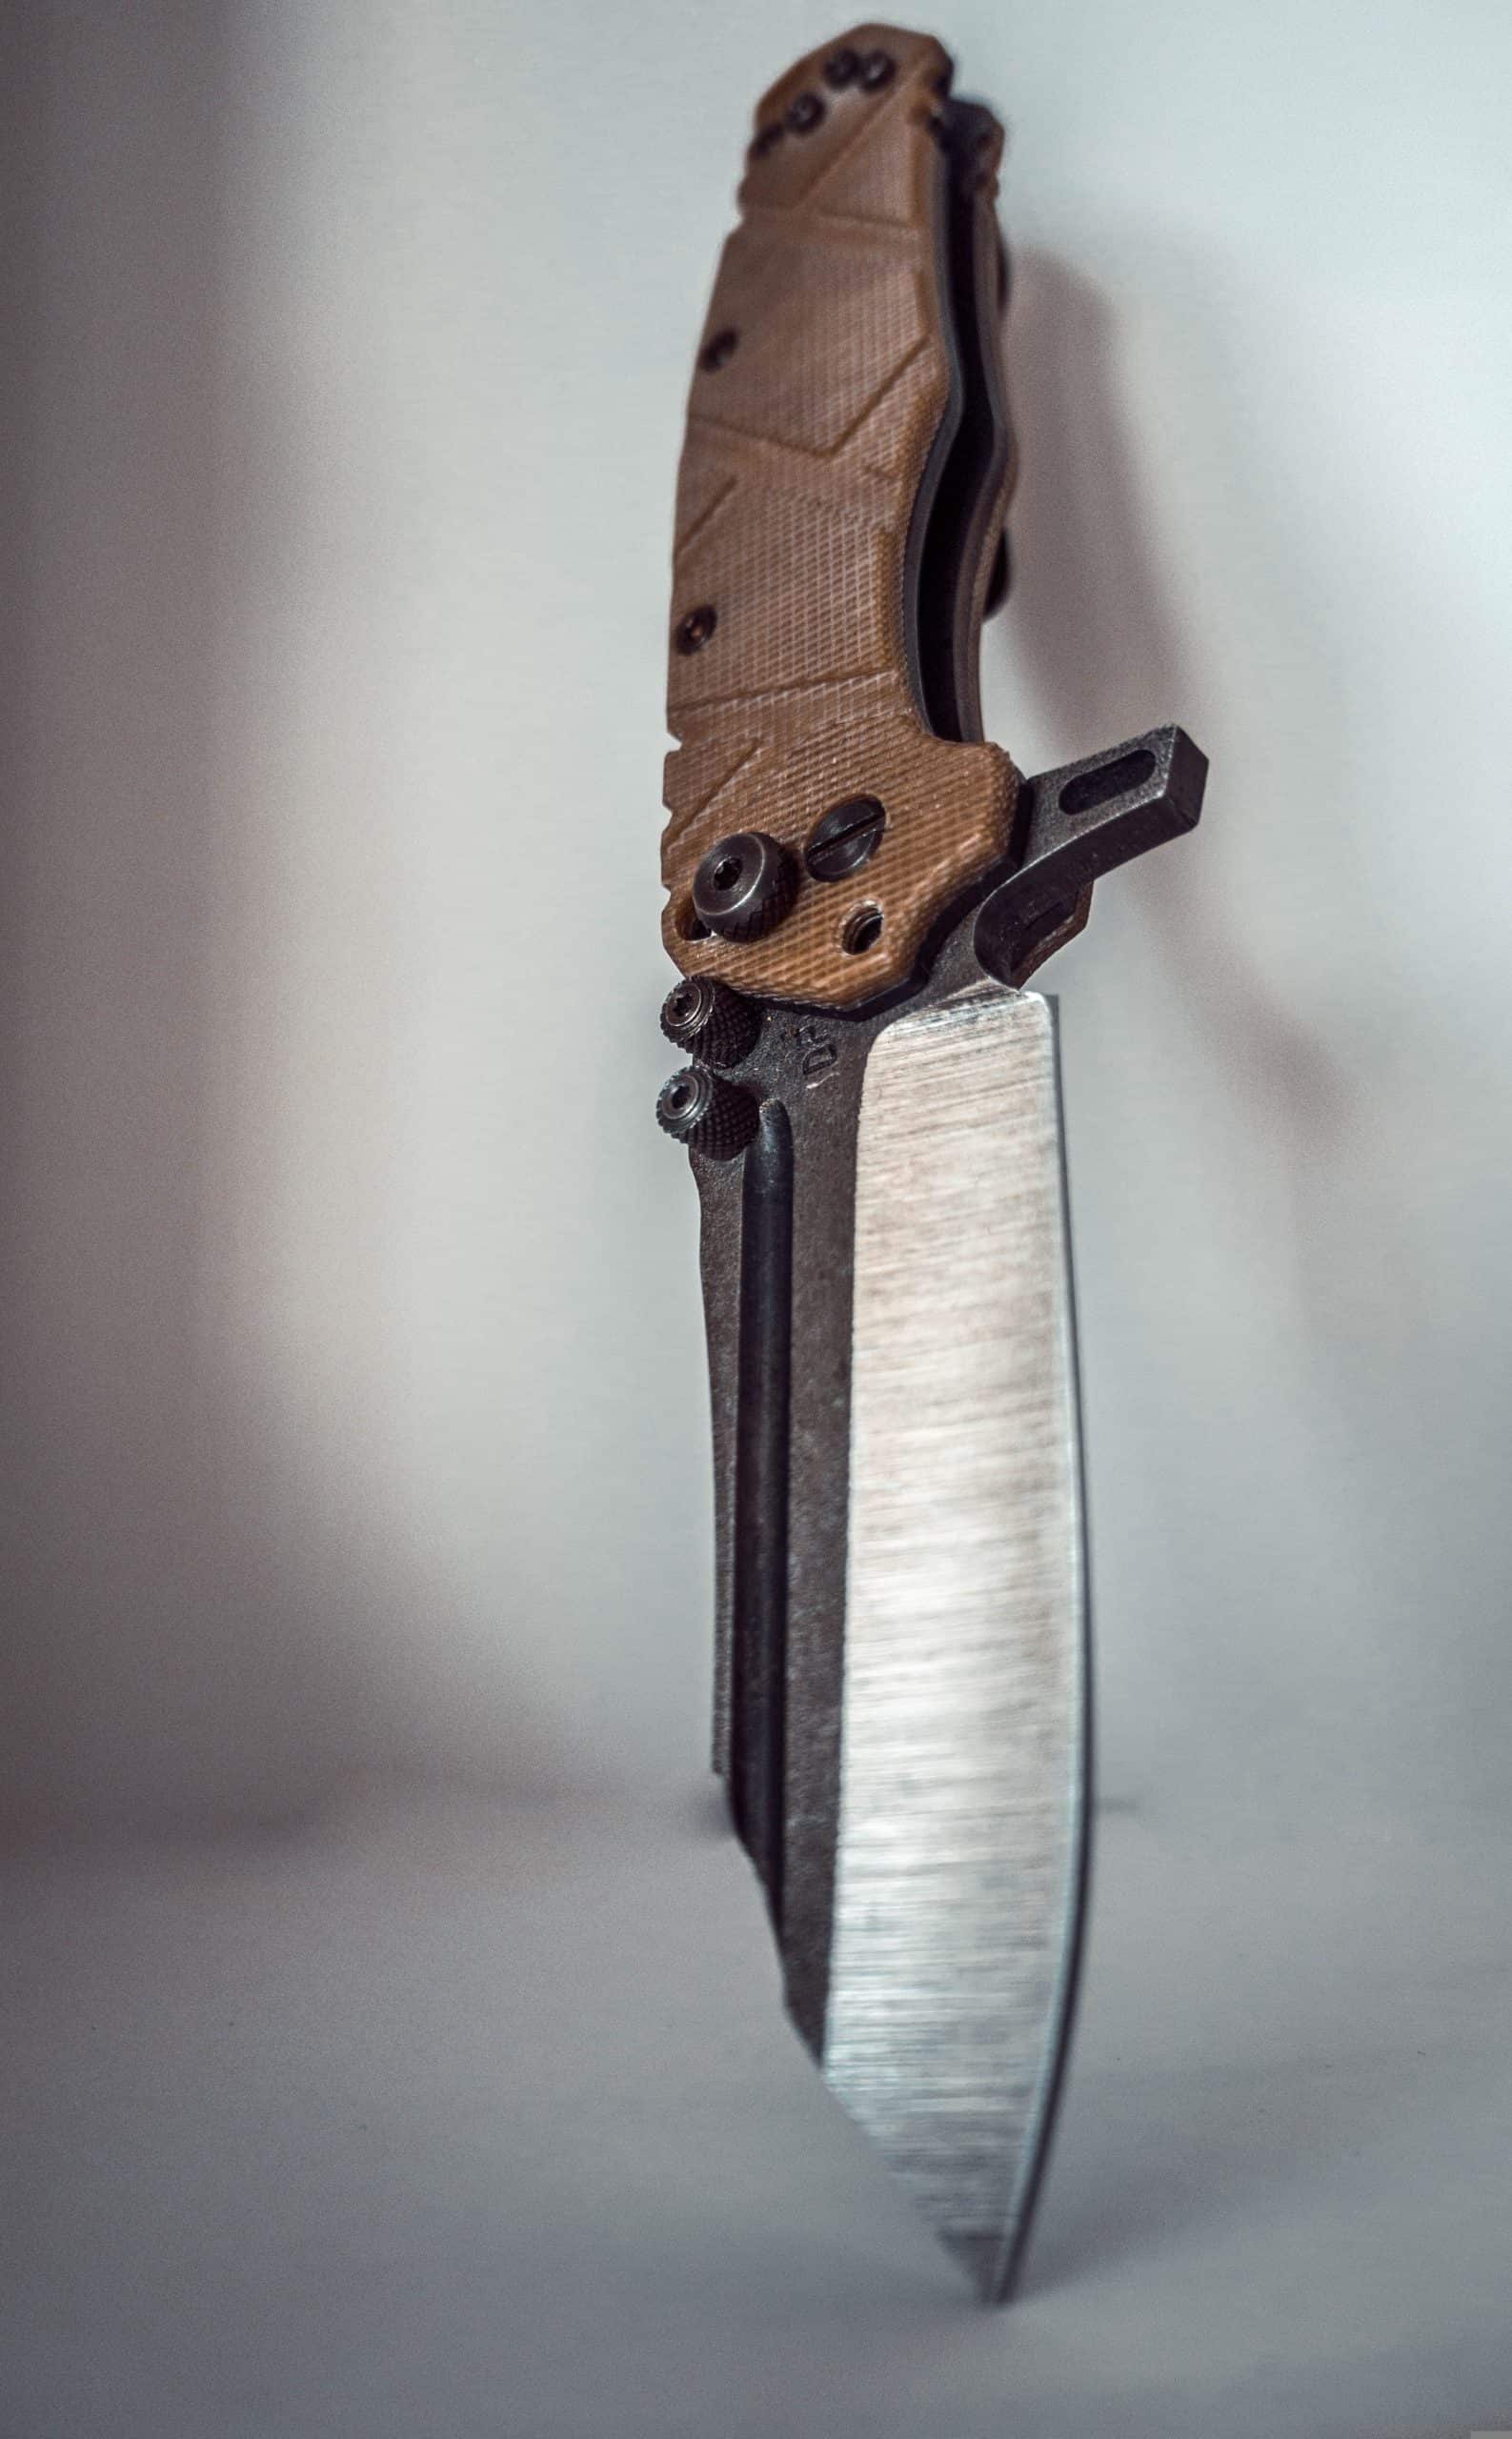


Introduction
Sharpening a knife with a rock is a skill that can be beneficial in many circumstances, from kitchen use to survival skills. Not having access to professional sharpening tools is no excuse; with just a rock and some practice, it’s possible to sharpen your own blades. Not only will having this skill save you time and money, but it will also make sure you are never without an edge when you really need one.
Sharpening with a Rock: Step-by-Step Guide
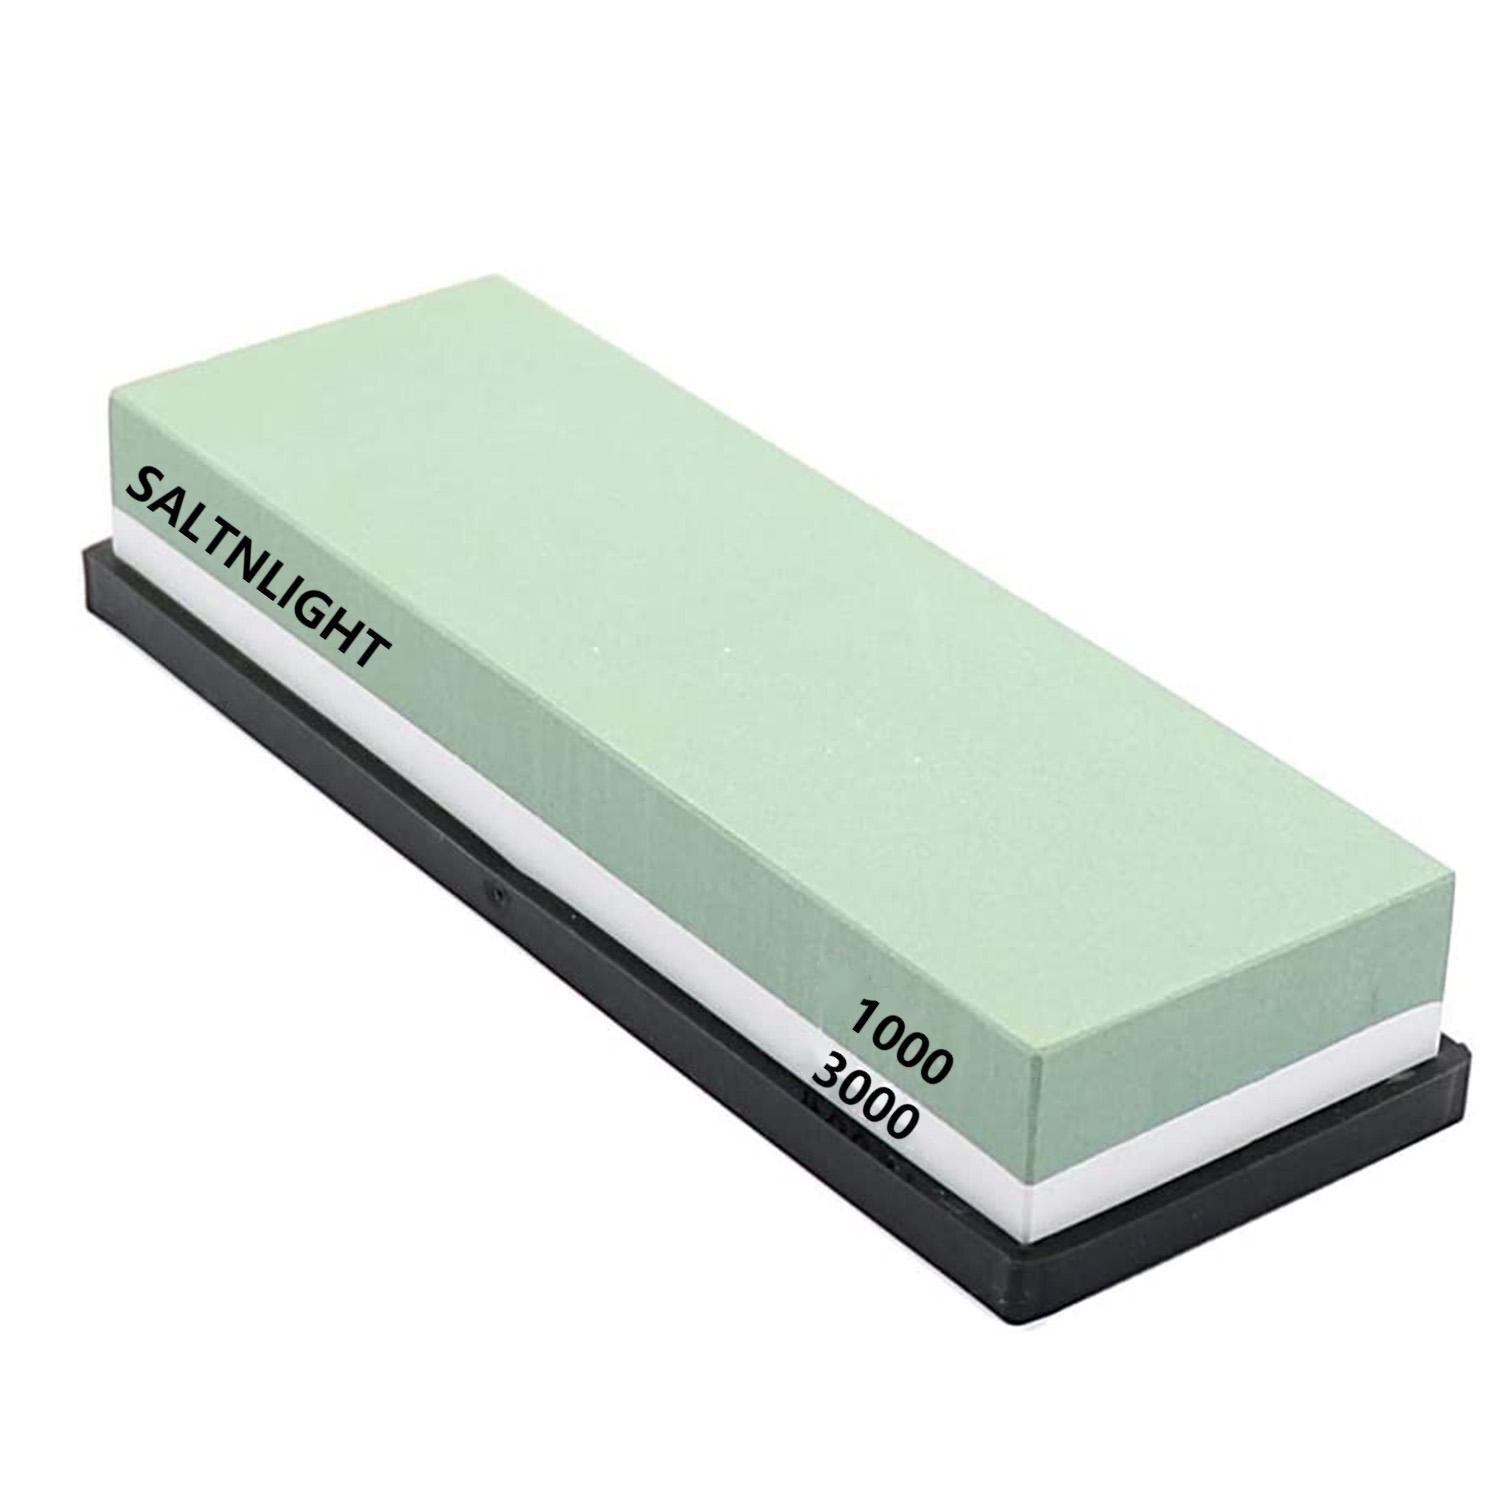
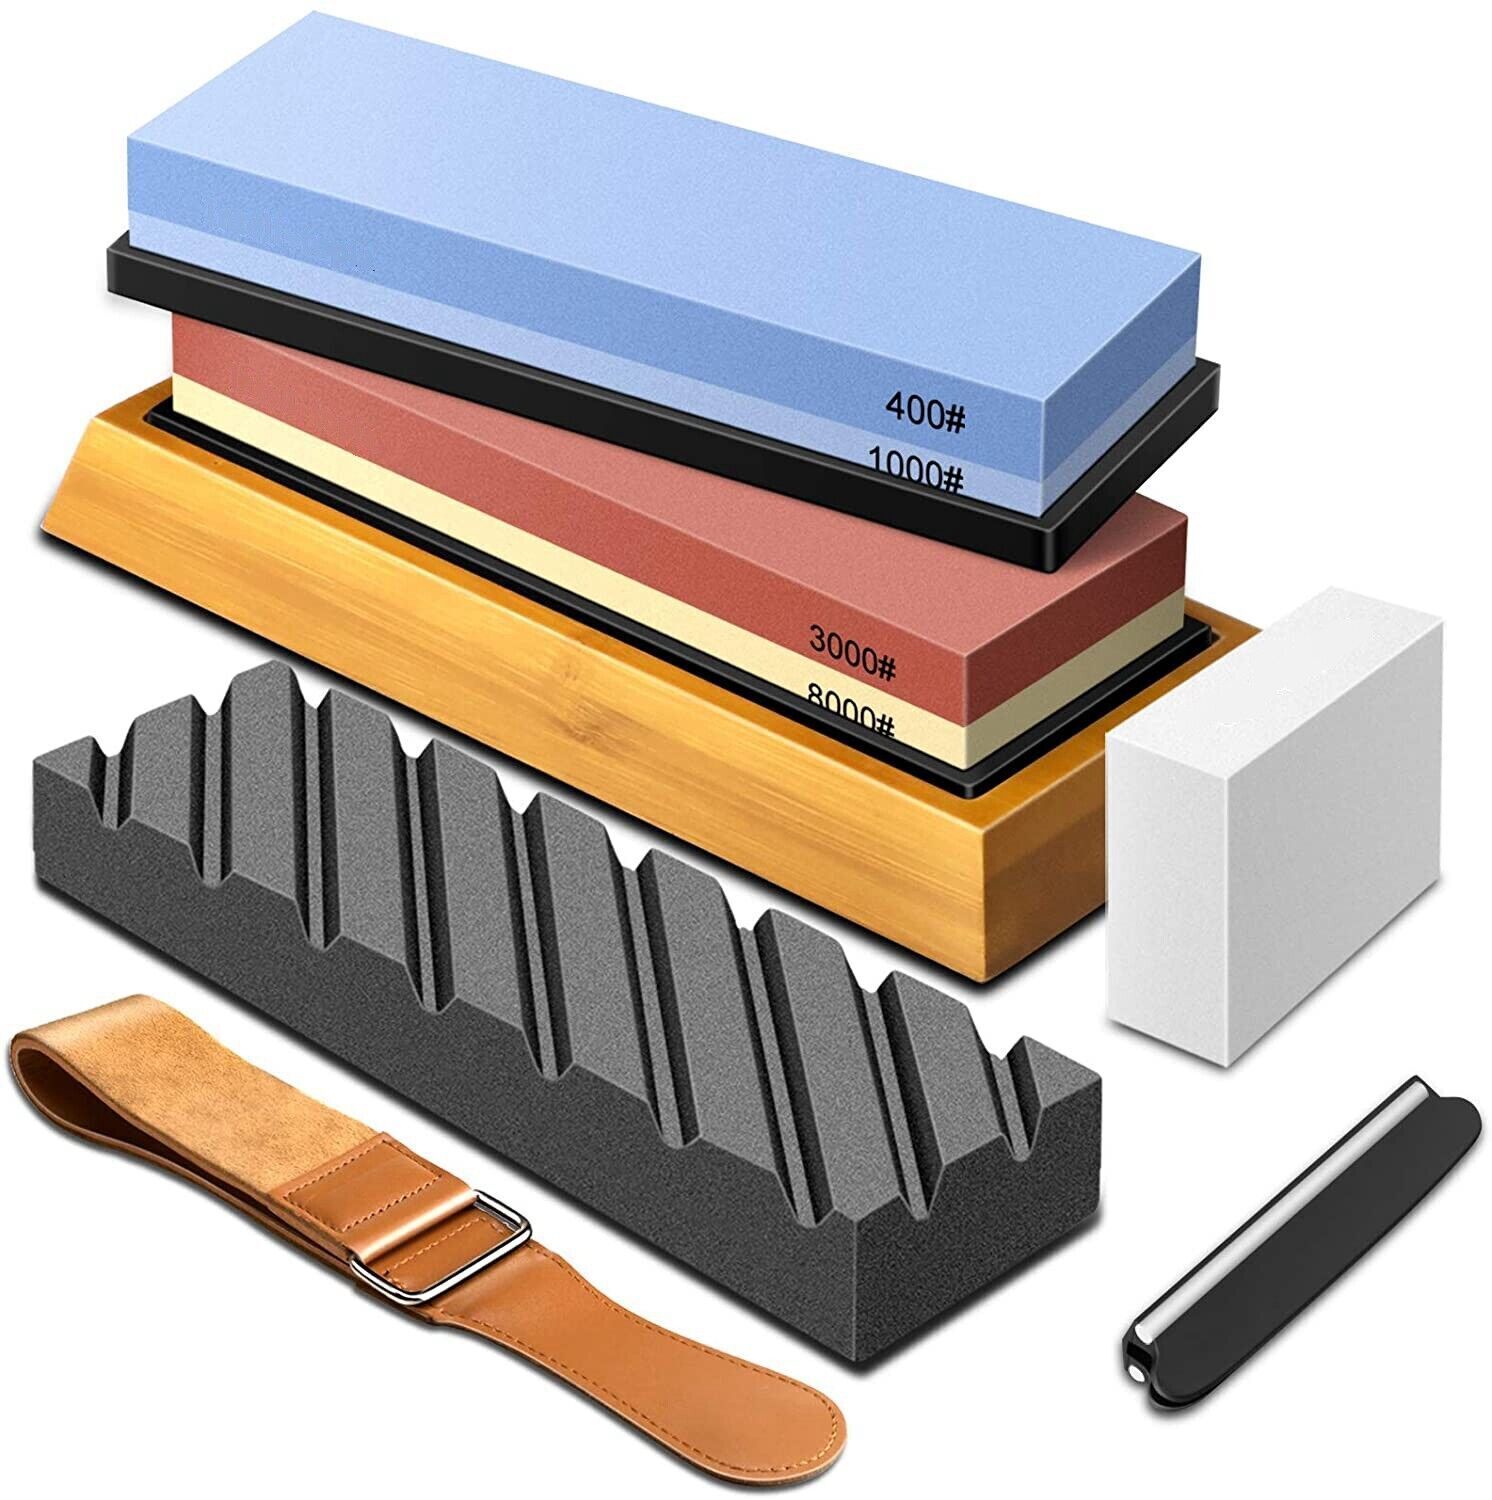
1. Find an appropriate rock. The best stones for the job are whetstones, which have fine grains and come in different grits from coarse to fine. Sharpening a blade on the wrong stone could wear down the steel faster or damage it due to overheating.
2. Begin by wetting the stone with water or oil and laying your knife at an angle of about 20 degrees over the stone’s surface (for most standard knives). Start at the heel and draw towards the tip of the blade held perpendicular so that its face remains flat against the stone as it slides across its surface. Repeat this motion around five times until moving onto the next step.
3. Flip the knife over and repeat step two on this side of the blade five times as well, then check its sharpness with your thumb or finger before proceeding onto step four if necessary
4. Increase your angle in increments of one degree up to 25 degrees every few strokes on both sides of the blade until satisfied with its sharpness – this should usually take between 15-25 passes per side depending on how blunt your knife is before starting.
5. Wash off any remaining oil/stone particles off your blade using warm soapy water, dry thoroughly and apply lubrication before storing away safely!
Determining the Right Setup
Before you begin sharpening your knife with a rock, it is important to determine the right setup for the job. You will need to find the right type of stone that is able to withstand the friction associated with sharpening a knife while also providing enough resistance to help you shape the blade as desired. Additionally, you will also need to choose a knife that is in good condition, as this will make it easier to achieve a sharp edge and reduce any potential risk of cracking or chipping during the process. Once you have chosen the appropriate stone and knife for the job, it is time to move on to preparing for the sharpening process.
Basics of Sharpening
First and foremost, it is important to understand the basics of sharpening a knife with a rock. This process involves changing the angle of the blade and applying pressure and strokes to sharpen it.
When sharpening a knife on a rock, you will use one hand to steady the blade against the rock while your other hand applies downward pressure. This pressure should be applied in long arcs side-to-side, with each subsequent stroke reversing end-to-end direction for ideal sharpness. Light to moderate pressure should be used – too much force can damage the steel or even leave indentations on different parts of your rock surface. Throughout these strokes, keep an eye on the angle in which you are holding your knife in relation to the stone; this is best kept between 10-20 degrees depending on what kind of knife you’re working on as well as personal preference. It’s also important to check your progress during sharpening; at times, it may be necessary to rotate or move the stone if coarser grits are needed for more stubborn edges. Keep going until you have achieved maximum sharpeness before moving onto stropping or honing using finer stones.
With each step along the path towards a perfectly sharpened blade, caution should be taken for optimal results. Don’t forget about safety too; wear protective gear such as gloves and eye protection when handling knives as even dull blades can still cause serious harm.
Tool Preparation
When sharpening a knife with a rock, it’s important to be aware of the angle of the blade and the level of pressure you are exerting. If done improperly, your knife can be ruined and rendered unusable. To ensure that your sharpening is done correctly, it is best to use an angle guide when preparing your workspace.
Craft a work space where you have easy access to all the necessary sharpening tools. This should include the sharpening rock, an angle guide and a damp cloth-like terrycloth or chamois. Make sure that there is enough light available in order to clearly see what you are doing and wear gloves if necessary.
Next, set up the angle guide onto your work space before laying out your knife on top of it with the appropriate side facing up. Depending on what type of edge you are trying to achieve — such as convex or taper — adjust the angle stop so that it corresponds with the desired sharpening angle for this particular edge type.
Once everything is in place, carefully pick up your knife, check that everything looks correct and adjust accordingly before beginning to sharpen. With everything properly in place, you can now begin using your chosen sharpening stone and pressure to get a smooth and even edge on your blade while ensuring accuracy when filing away material from the blade itself.
Sharpening Steps
1. Start by finding a flat, solid surface such as a large rock or piece of wood.
2. Take the knife in your hand and hold it with the blade facing away from you at an angle of 15 to 20 degrees.
3. Starting at the heel of the knife, press down firmly and begin moving the blade forward across the rock or board in a continuous chopping motion.
4. Move up to one-third of the length of the blade while maintaining even pressure and make sure to keep your strokes consistent and continuous.
5. Reposition your knife so that you work along the side, repeating step three and four as necessary until all sides have been worked on evenly.
6. Flip over your knife so that you are now working with the sharper edge facing towards you, then repeat steps three and four again using a pull through stroke rather than a chop stroke (pulling back instead of pushing forward). This’ll help pushing material away from what’s being sharpened for a better finish and smoother edges for slicing vegetables for instance.
7. Once both sides are done, use water to clean your work area before taking any type of honing steel rod/ steel sharpening stone etc to further refine your knives edge if desired/required.
Finishing
Once you have achieved a sharp edge on your knife with a rock, it is essential to finish the honing process by honing the blade with a steel rod. To do this, simply hold the steel rod at a slight angle and press firmly against both sides of the blade. You will know when the knife is finished when it glides through paper without any resistance.
After honing with the steel rod comes time to properly re-assemble all of your knife’s parts. This includes repairing any screws that were loose during the sharpening process and replacing any blades that were removed. Once everything remains secure and assembled, apply oil or other lubricants to ensure complete coverage against corrosion protection. Lastly, store the knife in an appropriate place so it can be easily accessed but continue to remain safe and free from potential damage.
Reflections
Sharpening a knife with a rock is an ancient technique that has been used for centuries to keep tools sharp. There are many different ways to sharpen a knife with a rock, but the most common method involves holding the knife at an angle against the surface of the stone and dragging it along in a smooth, constant motion. It can take some practice to get it just right, but once you master the technique it can become second nature. It’s important to use good quality stones when sharpening your knife so make sure to find a stone that is designed for sharpening tools. You’ll also need some oil or water to lubricate the blade. Start by testing out different angles until you find one that works best for each individual blade before attempting sharpening on your actual blade. It helps to make first few attempts on scrap material like cardboard or softwood so you can practice without damaging the material you’re actually working on. Taking proper care of your knives and mastering techniques such as sharpening can help them last longer and provide better results overall. Once you have learned how to sharpen your knife using a rock its skill will stay with you for life!